
How to Select and Send for Photo Prints in Google Photo
Executive Summary
- This article explains how to use the send for photo print functionality in Google Photo.
Introduction
The first step is to be in Google Photo.
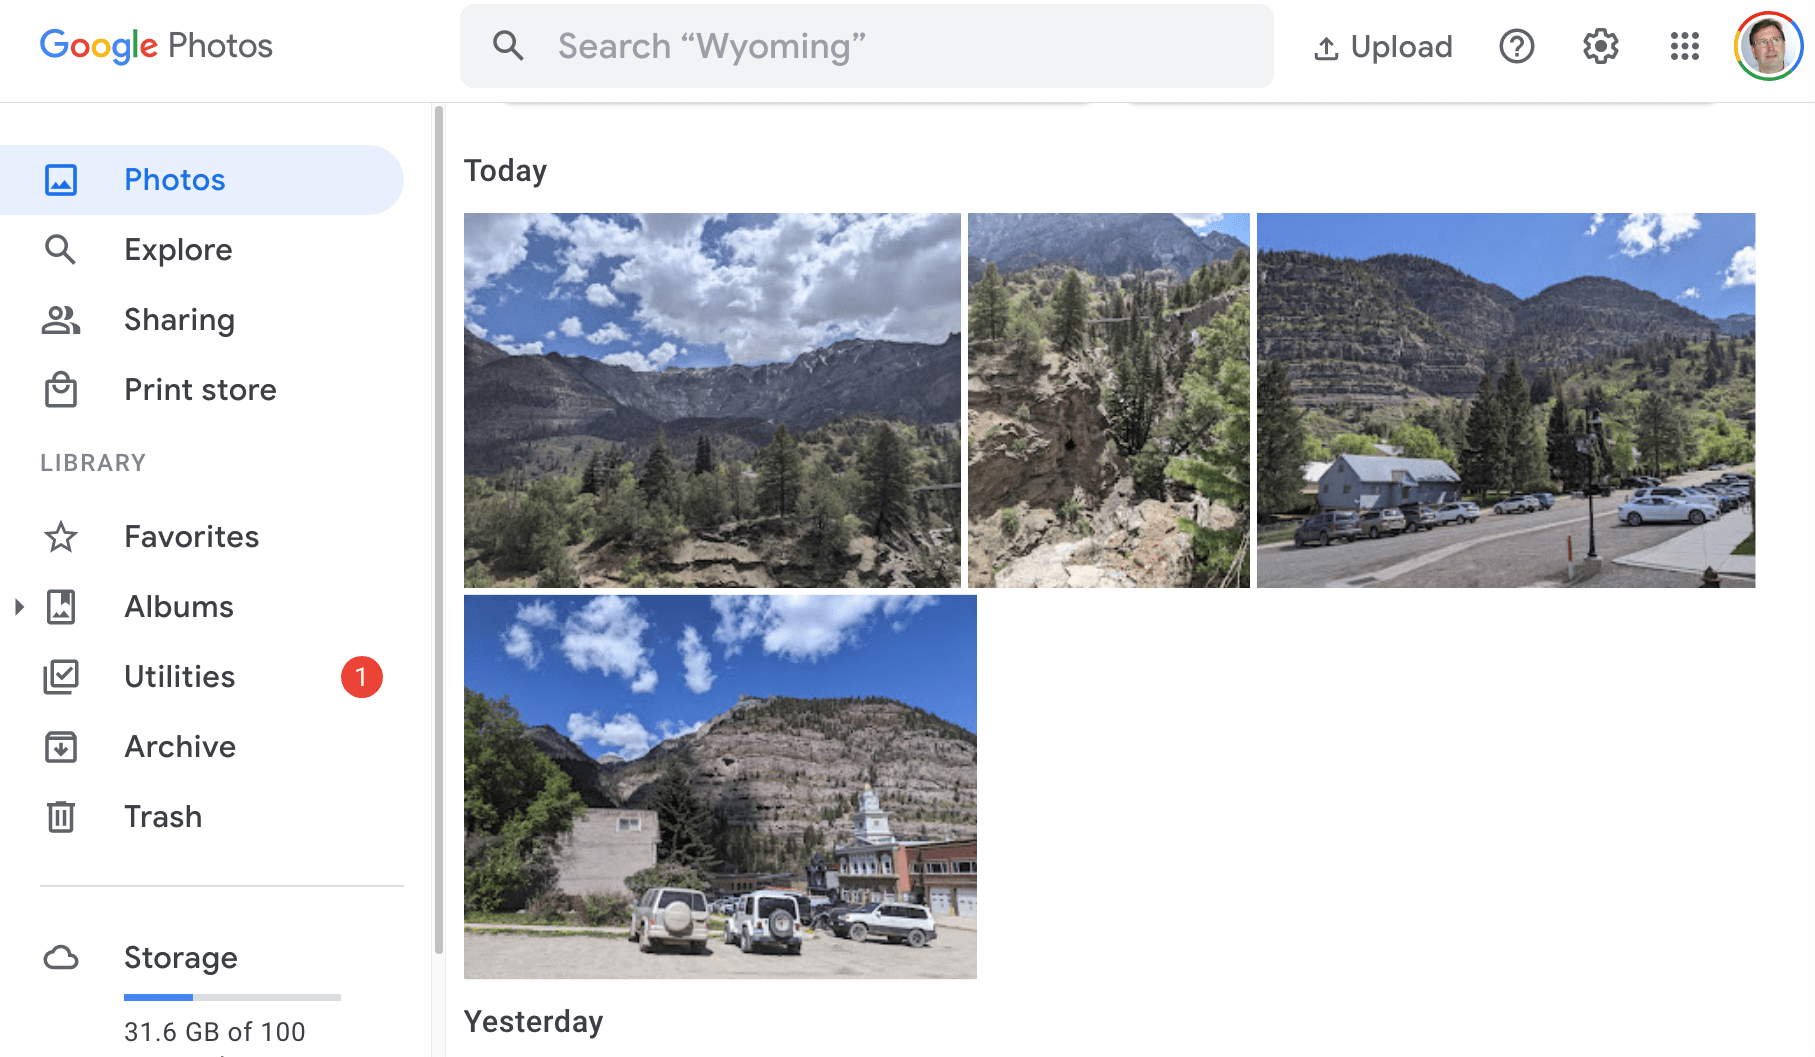
Here I am in my Google Photos.
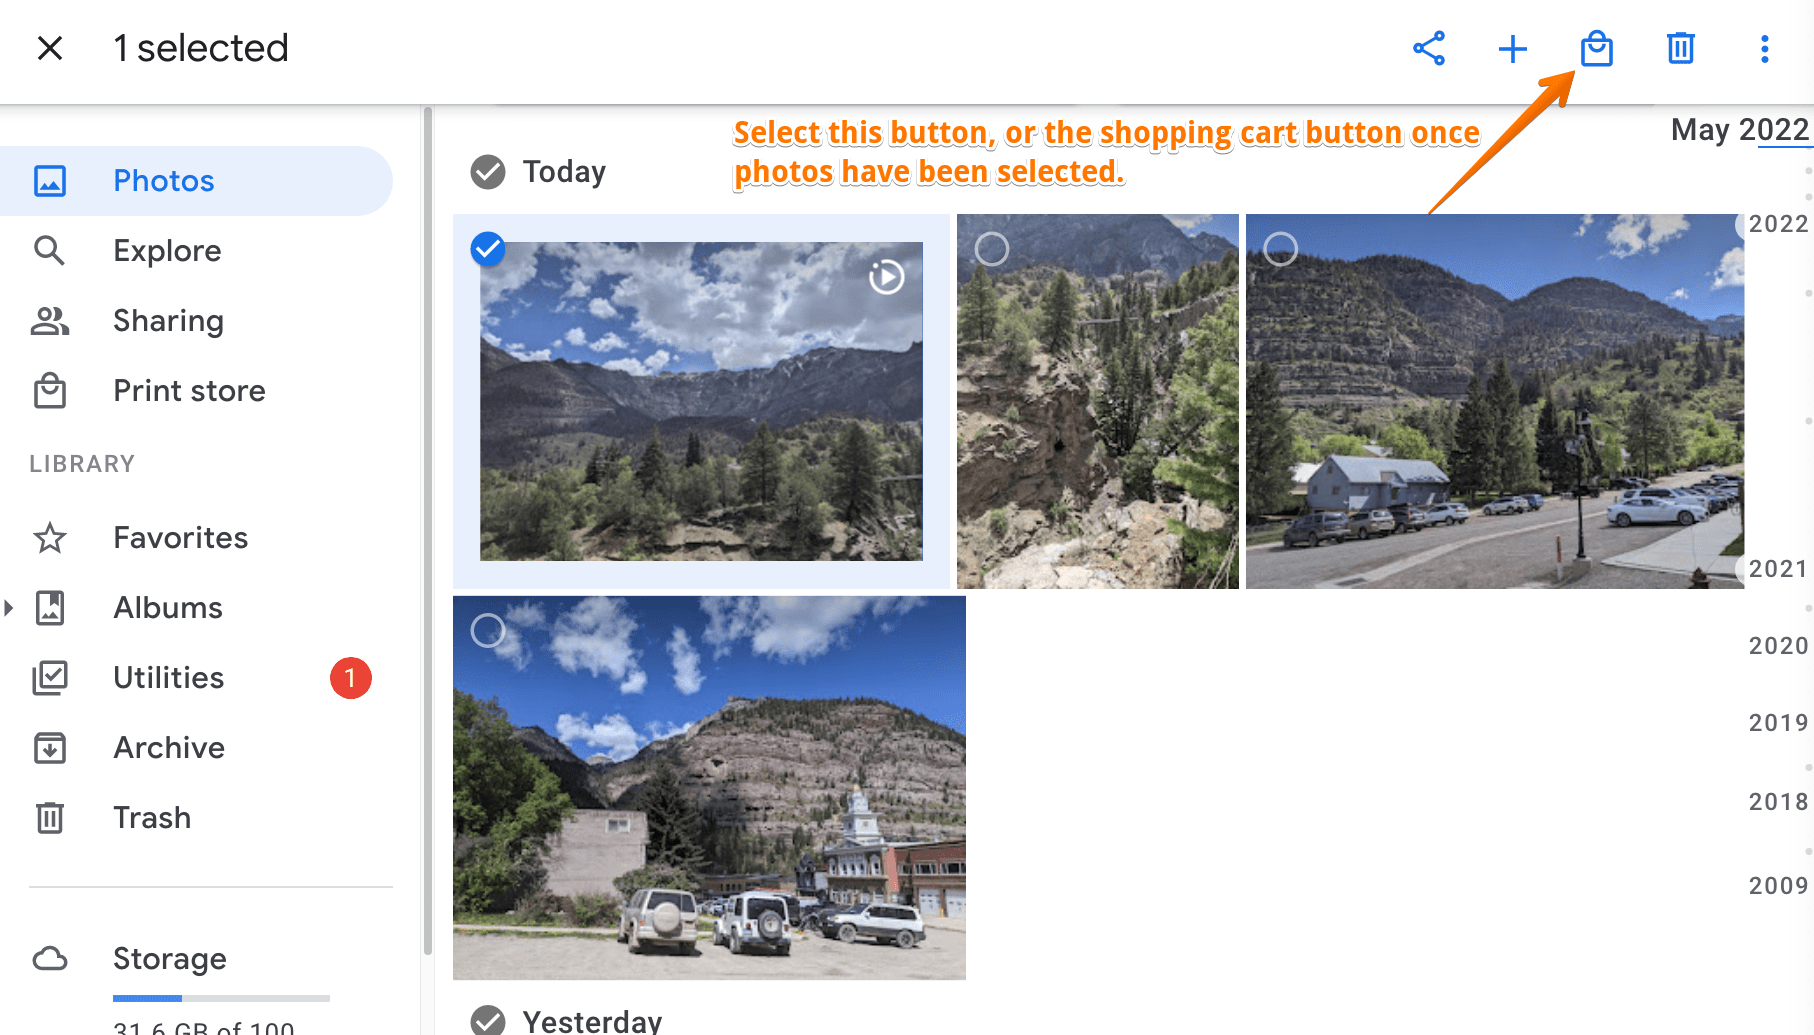
Now I select the photos I want to be sent to me as photo prints, an then select the icon in the upper left corner that is a shopping bag.
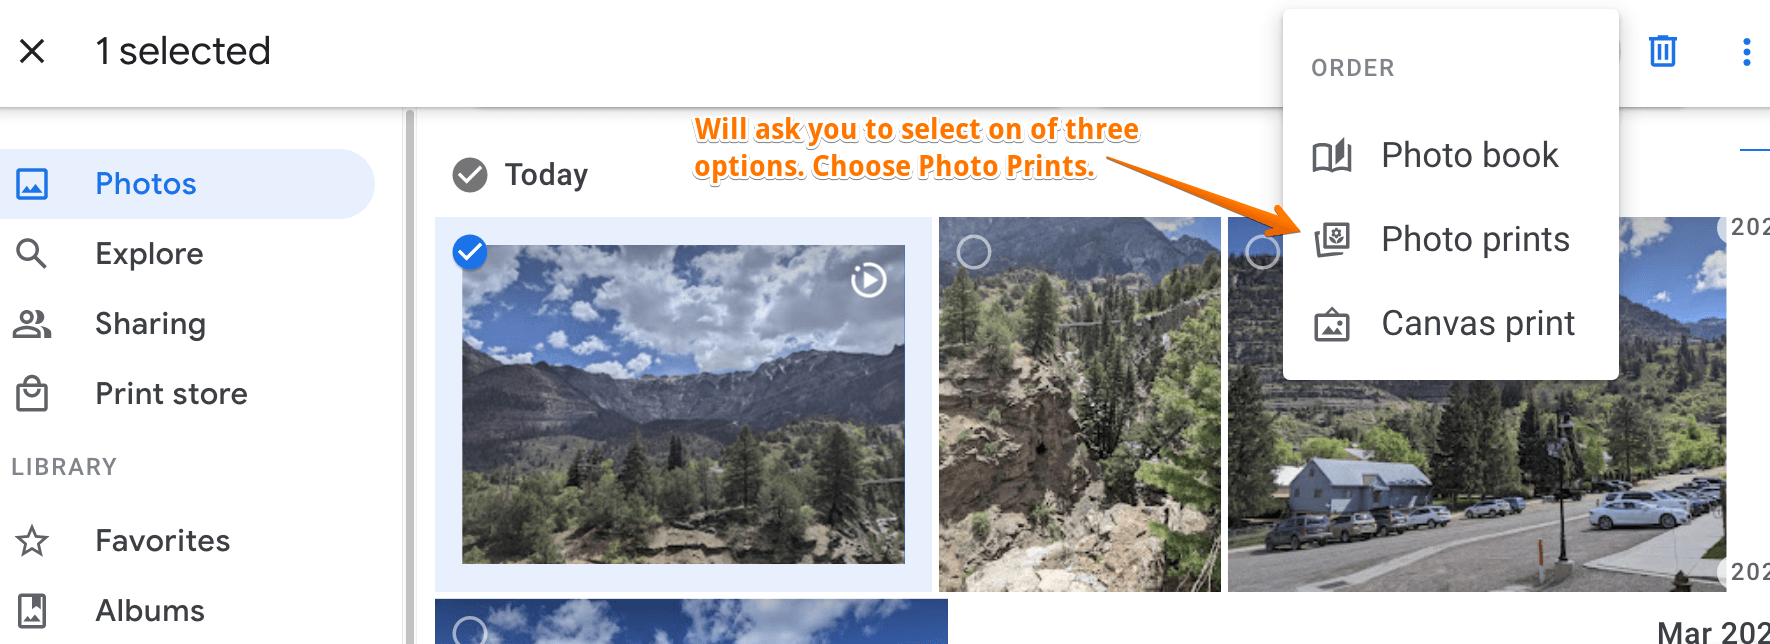
Then I select photo prints.
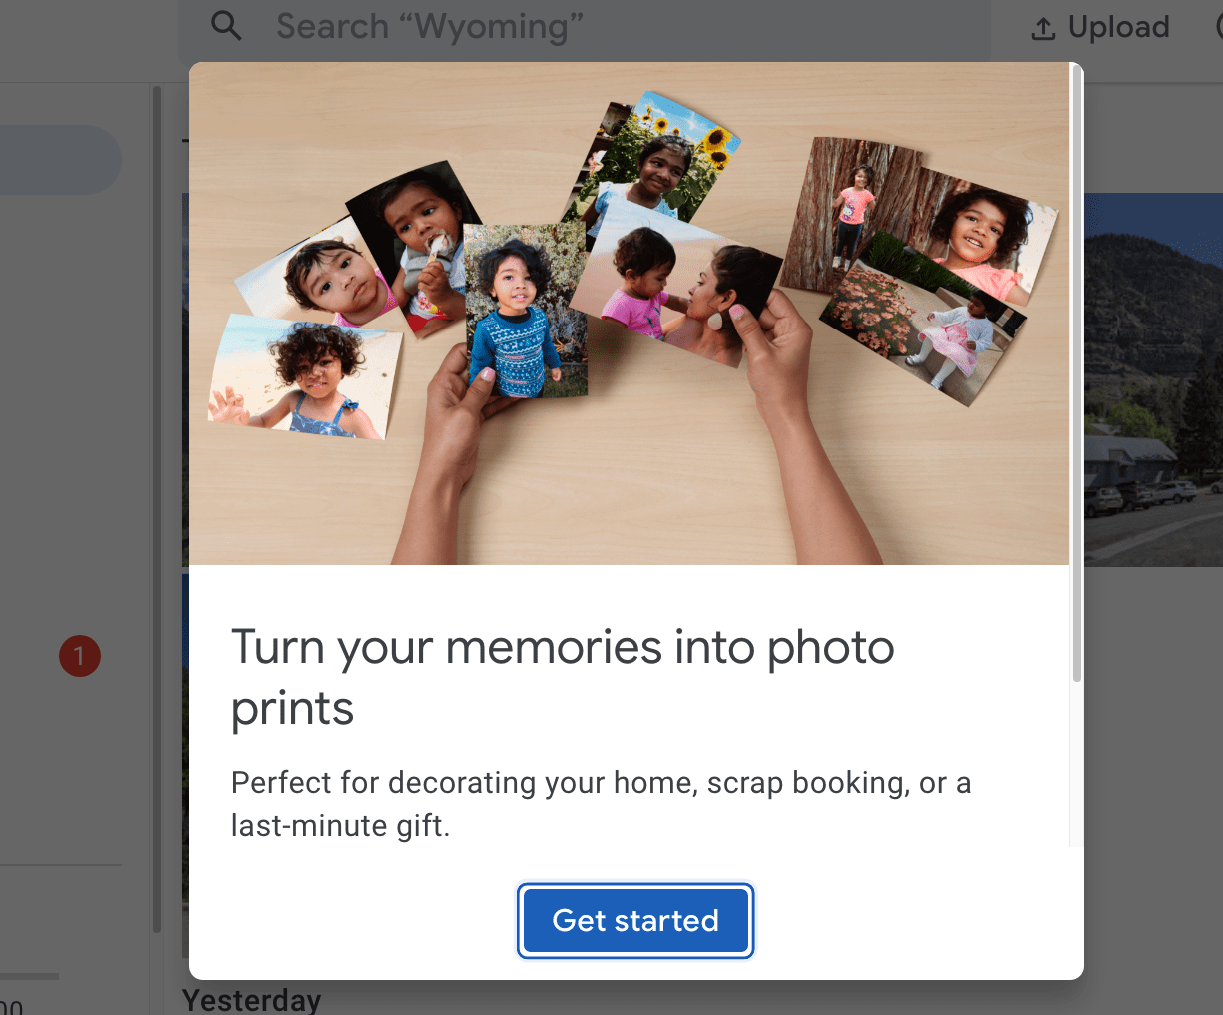
That brings up this window, and then select the Get Started button.
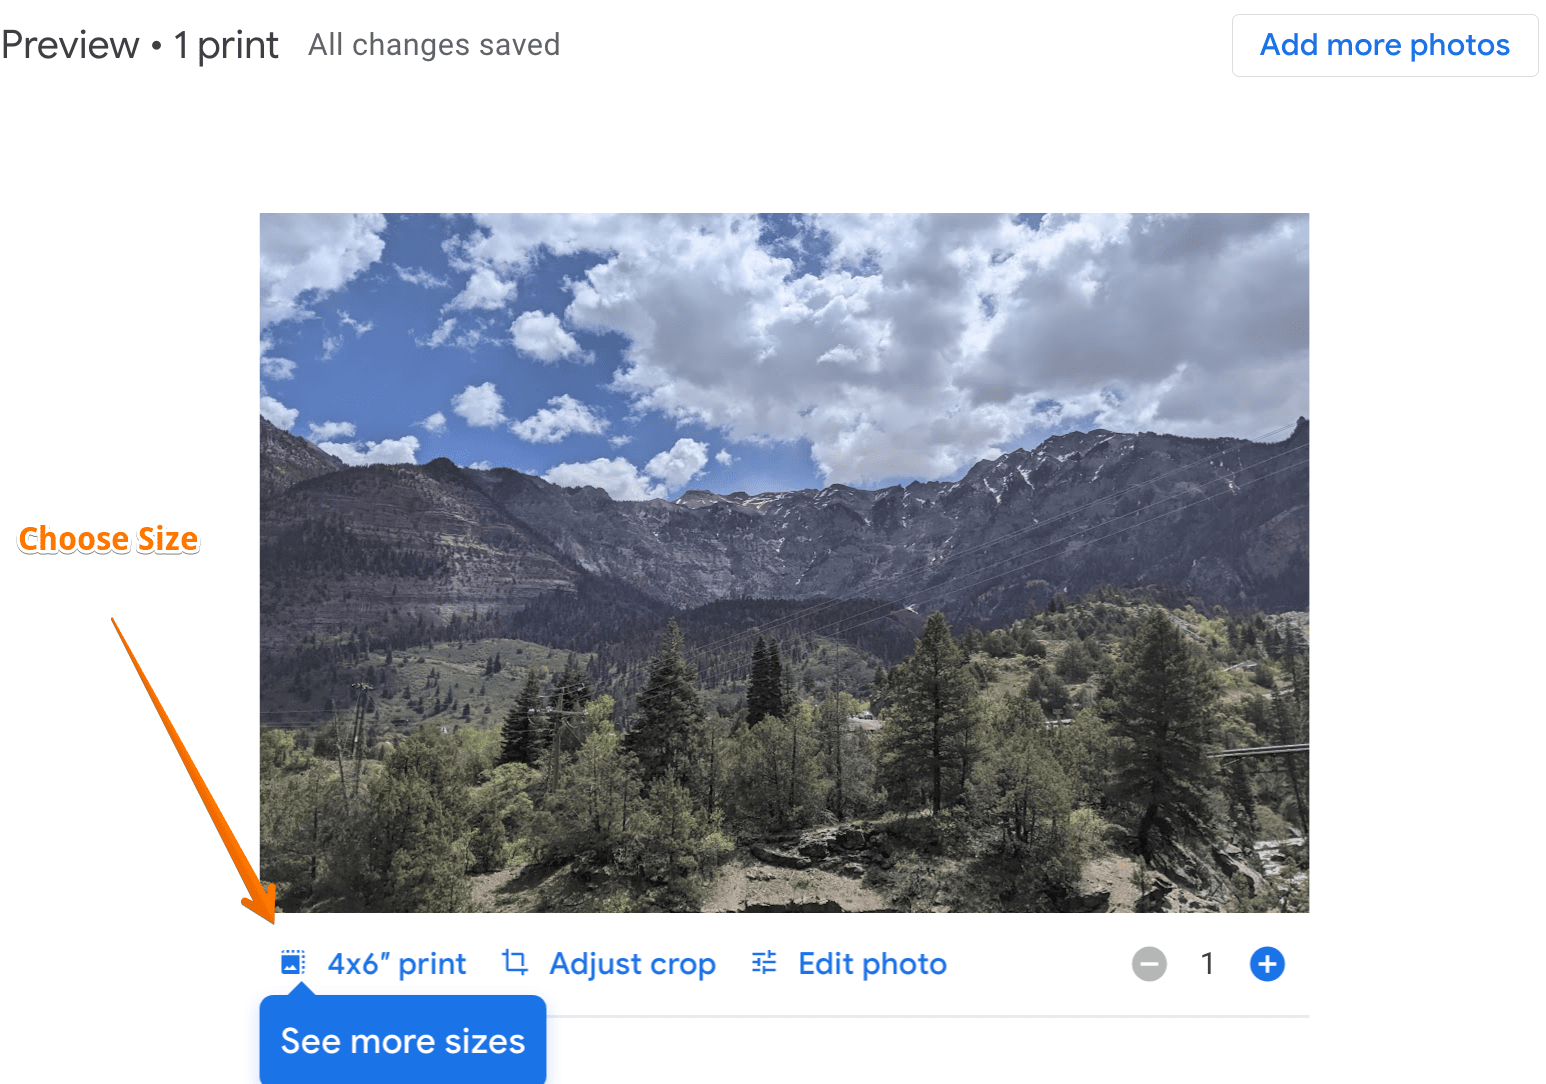
In this screen I select the print size. I can also crop the photo or do other photo edits.
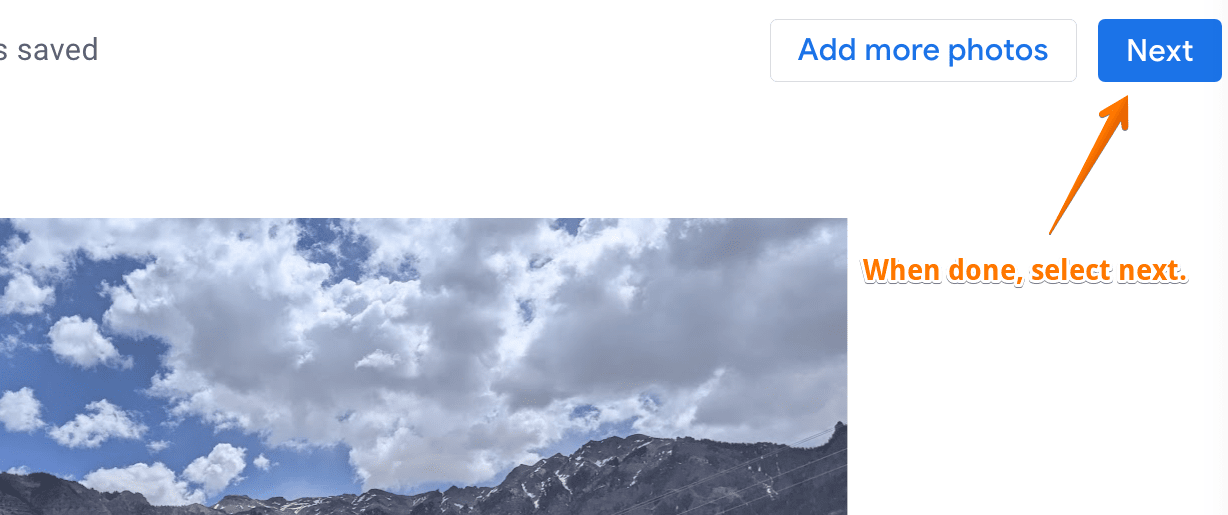
After finished, I select the Next button in the upper right hand corner.
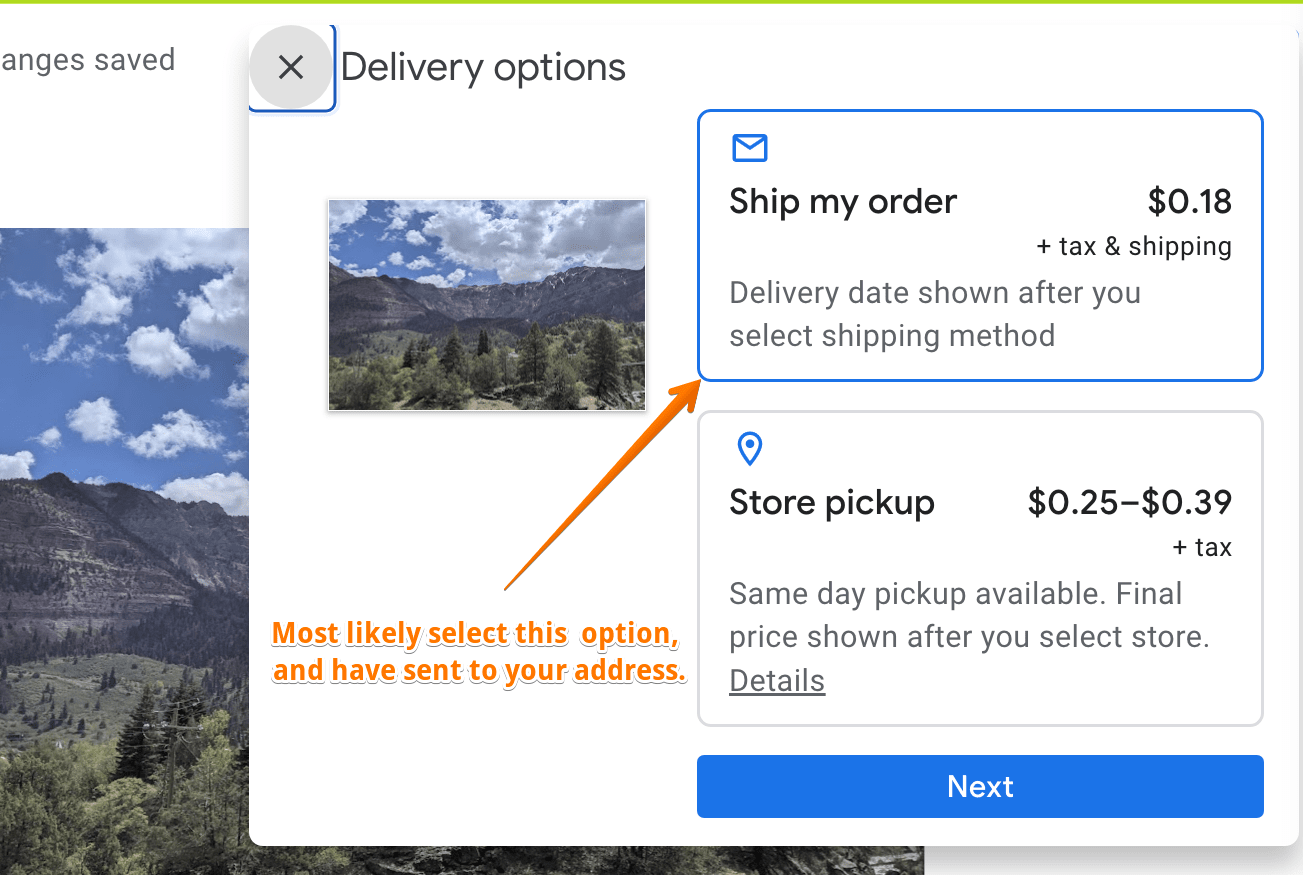
This gives the user the option of having the prints shipped to an address or picking them up in a store.
And that is. All of this is accomplished within Google Photos. I assume after this step, you enter payment details so the card can be charged.